A foundry laboratory is not a room full of instruments. It is a sequence of decisions. Each check should answer a question that changes what happens next — to the melt, the mould, or the casting.
The following seven checks form a practical routine for an iron or steel foundry. The exact frequency depends on your process, but the logic is the same: catch the variable while there is still time to act.
1. Verify incoming material before it reaches the furnace
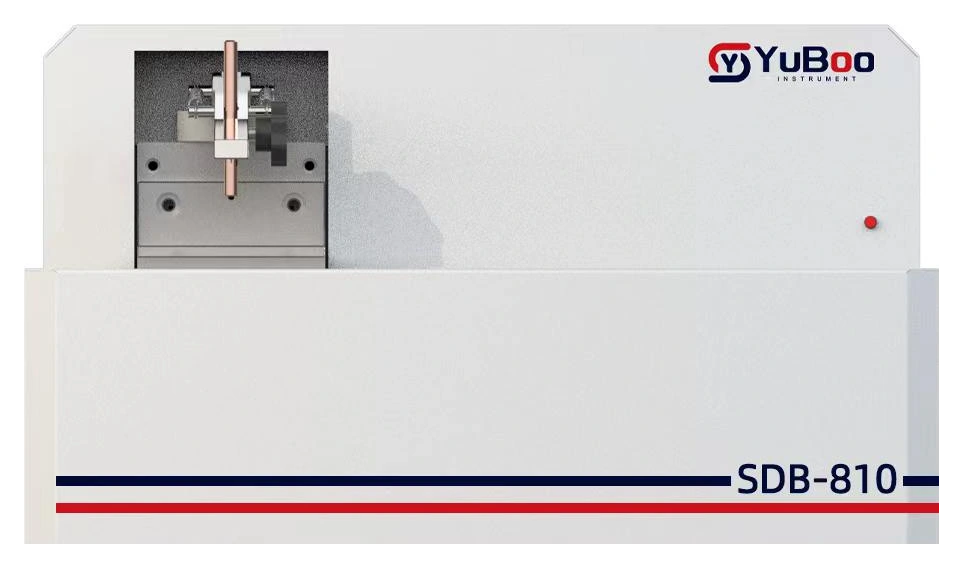
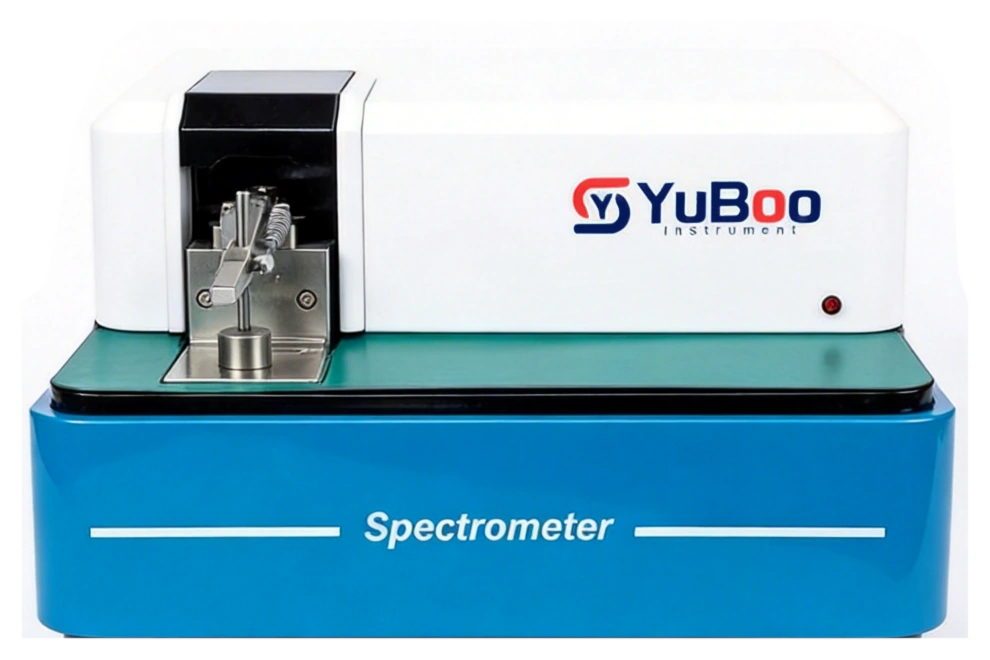
Wrong or mixed charge material is an expensive way to discover that your incoming inspection is weak. Spark OES or portable XRF at goods-in confirms that the alloy is what the certificate says it is. For critical heats, keep a record of the measurement point and the result.
Decision supported: accept, segregate, or reject the charge material.
2. Establish the base chemistry of the melt
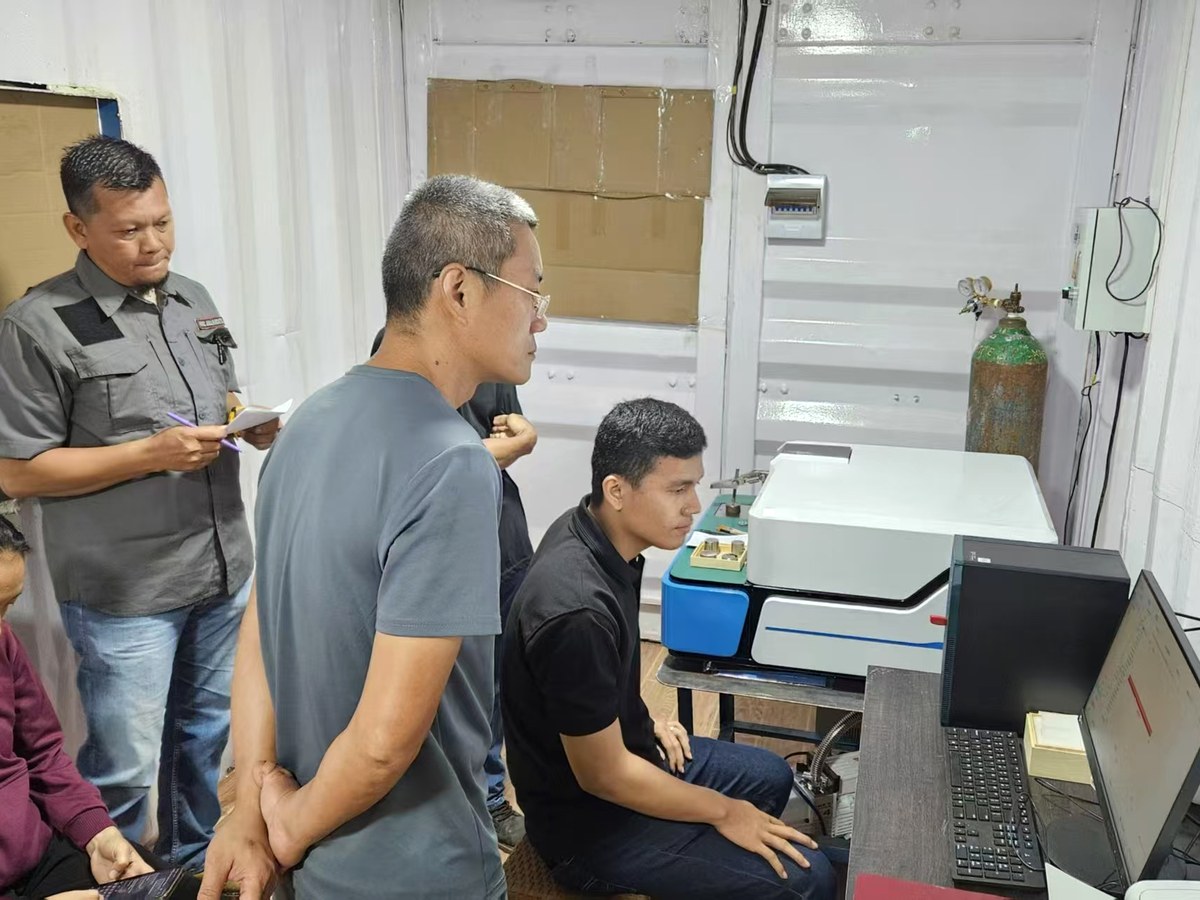
A sample taken after melting gives the first real picture of the heat. Carbon, silicon, manganese, phosphorus, sulfur, and alloying elements are checked against the internal target, not just the final specification. The earlier the correction, the cheaper it is.
Decision supported: add, dilute, or continue to the next stage.
3. Measure carbon equivalent and pouring temperature
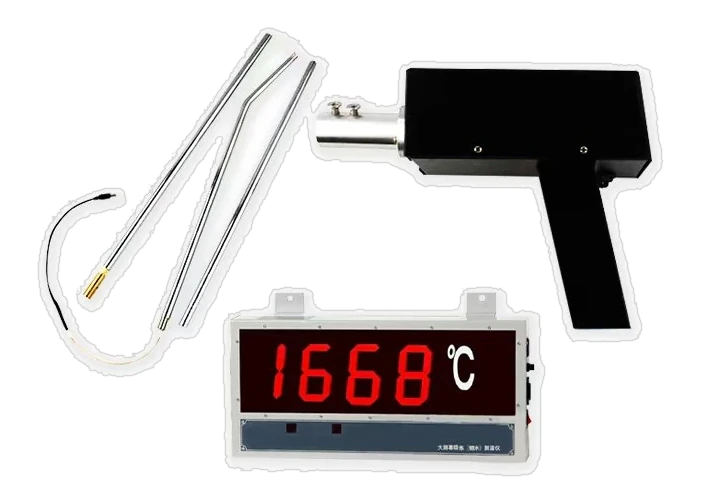
Carbon equivalent affects fluidity, shrinkage, and nodularity. Pouring temperature affects the same outcomes from a different direction. Measuring both before the pour gives the team a window rather than a guess.
Decision supported: pour now, adjust temperature, or hold the heat.
4. Check the sand system
Green strength, moisture, permeability, and compactability are the basic variables of a moulding-sand system. A sand test does not need to be complicated, but it does need to be frequent enough to catch a drift before it becomes a defect.
Decision supported: adjust water, bentonite, or additive additions; hold the moulding line if the sand is outside the window.
5. Pour with a recorded temperature
The temperature at the furnace is not necessarily the temperature at the mould. An immersion measurement at the ladle or a calibrated pyrometer check gives a more useful number. Record the value against the heat, not from memory.
Decision supported: pour, reheat, or divert the heat.
6. Test the test bar
Mechanical properties are part of the product, not a separate report. Tensile testing of test bars poured with the heat shows whether the process delivered the required strength, yield, and elongation. Hardness adds a fast check on the same material.
Decision supported: release the heat, re-test, or investigate the process.
7. Look at the structure
Metallography explains what the numbers mean. Graphite form, nodularity, matrix, and case depth can confirm that the melt and cooling produced the intended structure. When a result is marginal or a failure occurs, the microscope is often the fastest route to the cause.
Decision supported: accept the process, adjust heat treatment, or begin a failure investigation.
Build the routine around decisions, not instruments
It is easy to buy equipment and then invent a procedure around it. The more robust approach is to define the decisions first, then specify the measurement that supports each one. A laboratory that can answer seven clear questions is more useful than one that produces a folder of results nobody acts on.
Start with the checks that protect the highest-value decisions in your process. Add frequency and documentation as the routine becomes reliable. The goal is not more data — it is fewer surprises.
Common questions
How often should a foundry test its sand?
Frequency depends on the moulding line and the stability of the sand system. Many foundries test key properties every shift, with additional checks after a material or process change.
Do all heats need mechanical testing?
Not necessarily. It depends on the product standard, the customer requirement, and the criticality of the casting. Test bars are commonly poured with the heat so the option is available.
What is the most important laboratory check?
There is no single most important check. The critical one is the check that protects the next decision. For melt control, that is usually chemistry and temperature; for release, it is mechanical properties and structure.
Published by YuBoo Application Engineering
Share by email